How to Plan a Fence Layout for Small Acreage Properties
Why Most Small Acreage Fence Projects Go Wrong
You can spend three weekends and $2,000 building a fence that creates more problems than it solves. Pastures that flood every spring, gate placements that force cattle through a tight corner every feeding, corner posts that pull out of soft soil — these aren't material failures. They're planning failures. The best fence builders on small acreage start with a map, not a post pounder.
If you're managing anywhere from 2 to 50 acres, this guide gives you a systematic way to assess your land, match fence types to specific uses, and lay out a system that minimizes materials, long-term maintenance, and daily operational friction.
Step 1 — Walk Every Fence Line Before You Plan Anything
Before drawing a single line on paper, walk your entire property boundary and any interior areas you're considering fencing. Bring a notepad and mark down:
Drainage and wet areas. Note anywhere water pools for more than 48 hours after heavy rain. Fence posts in saturated soil have dramatically shorter lifespans and shift more often. On poorly drained ground, expect to reset posts every 3 to 5 years without additional drainage work. Plan fence lines to skirt wet areas by at least 10 feet when possible.
Existing trees and root zones. Large hardwood root systems — within 20 to 30 feet of the trunk — make post installation difficult and roots can heave posts over time. Route fence lines along tree edges, not through them, unless you're willing to bore through root zones with a towable post driver.
Slopes and erosion-prone areas. Fence lines running straight up a slope concentrate livestock traffic and create erosion channels. Contour-aligned fence lines that run across slopes, not up them, reduce soil disturbance and last longer structurally.
Natural corridors and wildlife movement. If deer or other wildlife regularly move through the property, note where. A fence placed across a primary travel corridor creates constant pressure on the wire at crossing points. Leaving a 14-foot gap at known crossing points with a suspended wire drops deer conflicts dramatically without compromising livestock containment.
Step 2 — Assign Fence Types by Function
Not every zone on a small property needs the same fence. Using heavy woven wire cattle fence everywhere adds unnecessary cost in areas that only need basic boundary marking. Match the fence type to the actual use.
Perimeter boundary fence: For most small acreage properties, 4-strand high-tensile electric wire is the most cost-effective perimeter solution. A properly energized 4-strand system with an 80-joule energizer handles cattle, horses, pigs, and most exotic livestock at roughly 40 to 50 percent of the material cost of woven wire. Install strands at 10 inches, 20 inches, 32 inches, and 42 inches from the ground for cattle containment.
Interior rotational grazing divisions: For paddock divisions on a rotational grazing system, 2-strand temporary electric poly tape on step-in posts is the most flexible and least expensive option. A 500-foot roll of 1.5-inch poly tape and 25 step-in posts — enough for one paddock division — runs approximately $60 to $80. You can reposition these divisions seasonally as your grazing plan changes without any permanent infrastructure cost.
Predator exclusion zones (poultry and small livestock): Woven wire with a 2-inch by 4-inch mesh welded or field fence topped with two strands of electric wire is the baseline for predator exclusion. Bury the bottom 12 inches of the wire in an L-shape outward from the fence — dig a 12-inch trench, lay the bottom of the wire horizontally, and backfill. This prevents digging predators from going under the fence.
Garden and orchard protection from deer: Deer exclusion requires either 8-foot-tall woven wire fence, or a double-strand electric fence system with two parallel fences 4 feet apart and 5 feet tall each. Single 5-foot fences don't stop deer reliably. The 8-foot single-fence option works on flat ground; the double-fence option is more economical for larger areas.
Step 3 — Locate Corners and Gates First
Corner post placement and gate locations are the highest-leverage decisions in a fence layout. Get these right and the rest of the work follows logically.
Place corner posts at actual corners, not approximate ones. Drive a stake at each corner and measure. A fence line that's 4 degrees off at the start accumulates significant error across 500 to 1,000 feet. Corner posts take the most stress — they're the anchor for all the tension on a fence run — and they need to be in firm, non-saturated ground.
Plan gates for operational logic, not just access. Every gate placement decision should answer: what are the most common movement patterns on this property? If you're moving cattle from the barn to the back pasture daily, put the gate in a direct line. A gate that forces a 90-degree turn with 50 cattle in motion creates handling problems. For properties with tractors, plan gate openings a minimum of 14 feet wide — wider if you run a round baler or hay wagon.
Minimize the number of gates. Every gate is a maintenance point and a potential escape point. Combine vehicle access and livestock movement gates wherever possible. A single 14-foot aluminum farm gate does both jobs; two separate 4-foot walk-through gates and a 10-foot farm gate in the same area triples your maintenance and hardware cost.
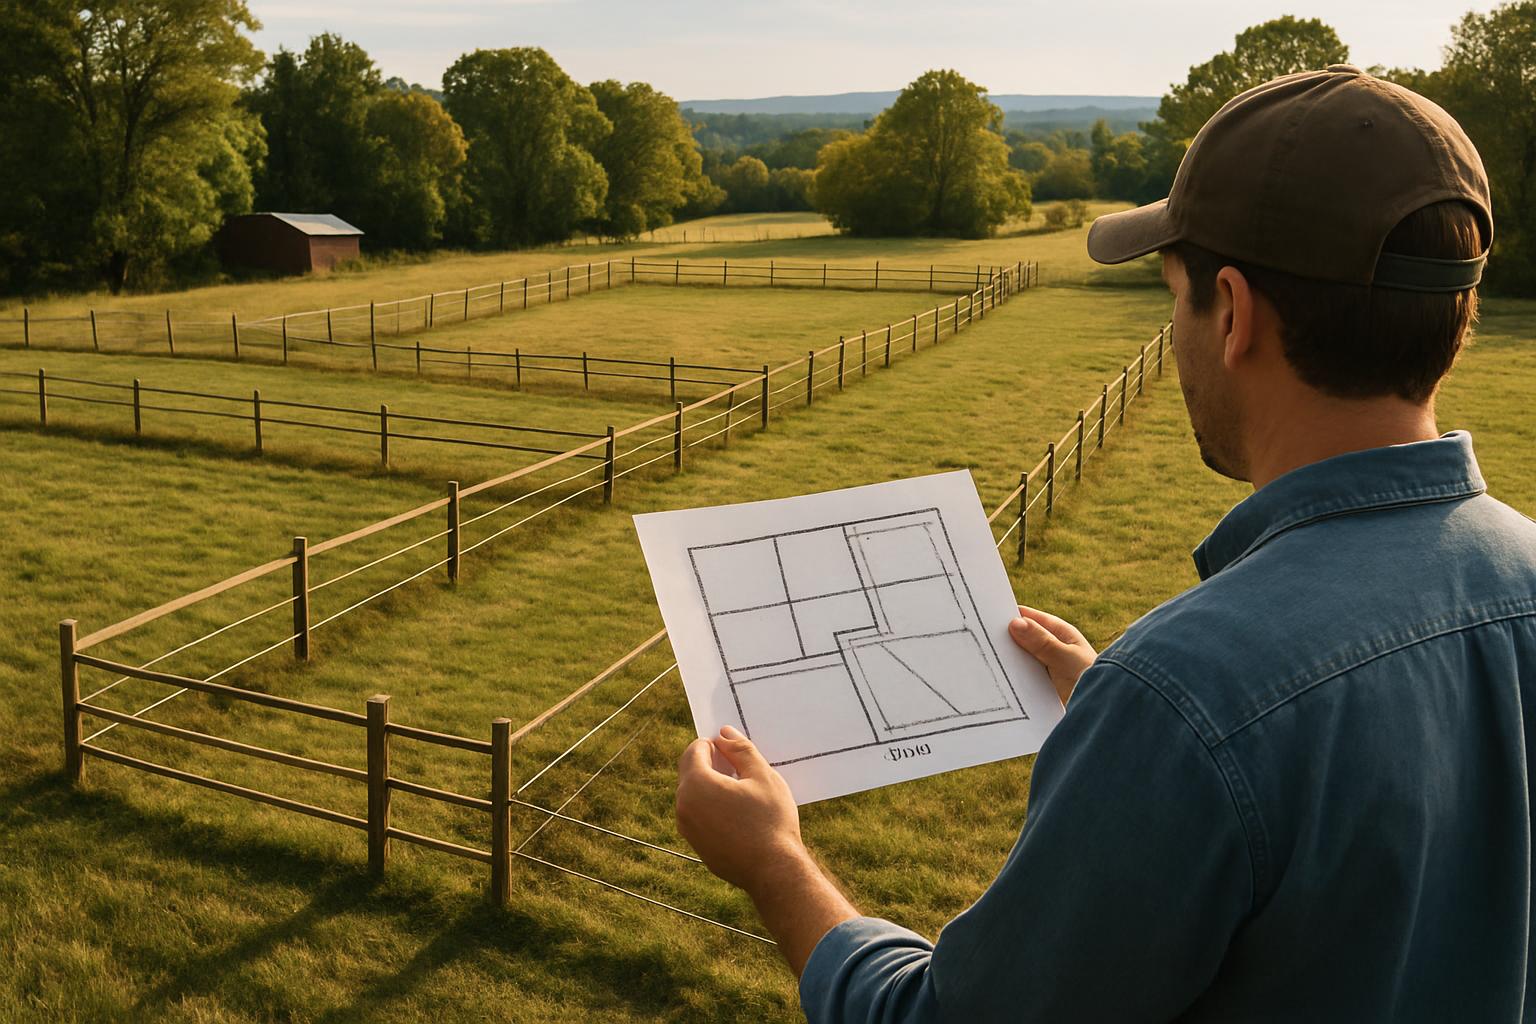
Step 4 — Sketch Your Layout on Paper or a Simple Map
Once you've walked the property and assigned fence types to zones, draw a simple overhead sketch. You don't need surveying software — a hand-drawn sketch to rough scale works fine.
Mark on the sketch:
- All proposed fence lines with fence type noted
- Corner post locations (mark these with a circle)
- Gate locations and widths
- Any areas you're routing around (wet spots, root zones)
- Water access points for livestock — every paddock in a grazing system needs water access within 600 feet of any point in the paddock
From the sketch, count your linear feet by zone. Multiply by material cost per foot for each fence type. Most small acreage projects underestimate materials by 15 to 25 percent — add that buffer before you order.
Step 5 — Account for Future Expansion
The cheapest fence to add later is one you planned for at the start. If you think there's a 50 percent chance you'll add a fourth grazing paddock in the next five years, plan the corner post location and gate access for that paddock now. Driving an extra two corner posts during the original project costs you 2 hours and $40 in materials. Retrofitting them later after the rest of the fence is built costs four times that in wasted effort and potentially pulling existing wire.
Similarly, plan your energizer and charger capacity at 150 percent of your current need. A 100-mile-capacity energizer running a 20-mile fence system leaves room to expand without replacing the most expensive component in an electric system.
Key Takeaways
- Walk the entire property before planning any fence — drainage, root zones, slopes, and wildlife corridors all affect line placement and long-term costs.
- Match fence type to function: high-tensile electric for perimeter, poly tape for interior rotational divisions, welded wire with buried apron for predator exclusion.
- Locate corner posts and gates first — these decisions drive everything else and are the hardest to change later.
- Plan all gate widths for your largest piece of equipment, minimum 14 feet for tractor access.
- Sketch your layout with fence types, gate locations, and water access points before calculating materials.
- Add 15 to 25 percent to material estimates and size your energizer at 150 percent of current fence mileage to allow for future expansion.
Stop Seeing Deer Only at 2 AM — Get the Free 10-Point Habitat Fix
Your property has specific, fixable gaps — and most 1–50 acre hunters never find them. This free checklist pinpoints exactly what's missing and tells you what to change first so deer start showing up when you can actually hunt them.
- ✓ The food plot timing that pulls deer into daylight hours
- ✓ How to build bedding cover with just a chainsaw (no equipment needed)
- ✓ Stand placement mistakes silently blowing out your property
- ✓ The #1 pressure rule most hunters skip — and deer remember
- ✓ Low-pressure access routes most small acreage owners never plan